05 May 2021

How to install Intel x86 Windows on Apple Silicon Mac with UTM app

It is the reality that we can run Intel Windows 10 on Apple Silicon Mac in addition to Arm Windows 10.
Windows 10 runs 1/4 to 1/2 speed compared to physical machine.

Following is the procedure and my tip.

  1. Prepare three items:
    UTM app (Mac App Store version or free version) and install it,
    Windows 10 installer ISO (I tested with Windows 10 version 2004 Japanese),
    and additional driver ISO file from UTM app site.
  2. Launch UTM app.
  3. Create new VM with "+" button.
    At [Information] tab, names the VM on [Name] field (you can change it later).
    At [System] tab, specify [x86_64] on [Architecture], 4096MB on [Memory], check [Show Advanced Settings] and [8Cores] on [CPU Cores].
    At [Drive] tab, create [30GB] system drive with [New Drive] button, in addition, specify Windows ISO with [Import Drive] button, and again, spice-guest-tools ISO with [Import Drive] button.
    At [Display] tab, select [vmware-svga] on [Emulated Display Card].
    At [Sound] tab, select [Intel HD Audio Controller (ich9)] on [Emulated Audio Card] (because driver for default [Intel 82801AA AC97 Audio] will not be found in Windows).
    After specify above, push [Save] button.
  4. Power on and do setup with "play (right triangle)" button.
    During setup, reboot will be initiated two times (after "Copying files" and after "Preparing Windows"), but reboot will not occur automatically, so you should manually power off and on the VM when the window becomes black and CPU is only around 100% when you inspect with macOS System Monitor (it is 300-500% during setup is busy).
    Setup will be finished about in one hour (it seems similar to real PC).
  5. Log in to booted Windows 10.
    At initial session, the load will be high due to device configuration ([QEMU USB Keyboard]), Windows Update and Search Indexer.
    If you check [Device Manager], you will find [PCI simple communication controller] is warning state, so you should [Update driver] with E: drive ([VirtIO Serial Driver (Red Hat, Inc.] will be installed).
    In addition, do [Windows Activation].
    Windows will boot in 30 seconds and power off in one minute after initial configuration is finished.

Don't you feel it easy?
On Apple Silicon Mac, Intel Windows will not supported with Paralles, VMware Fusion and Boot Champ.
Therefore, UTM app is only solution at the present time.
If you have interest, try it and give me your feedback.

[Japanese version of this post]

16 January 2021

UTM app is widely available that lets you execute Intel/Arm64 Windows on Apple Silicon Mac

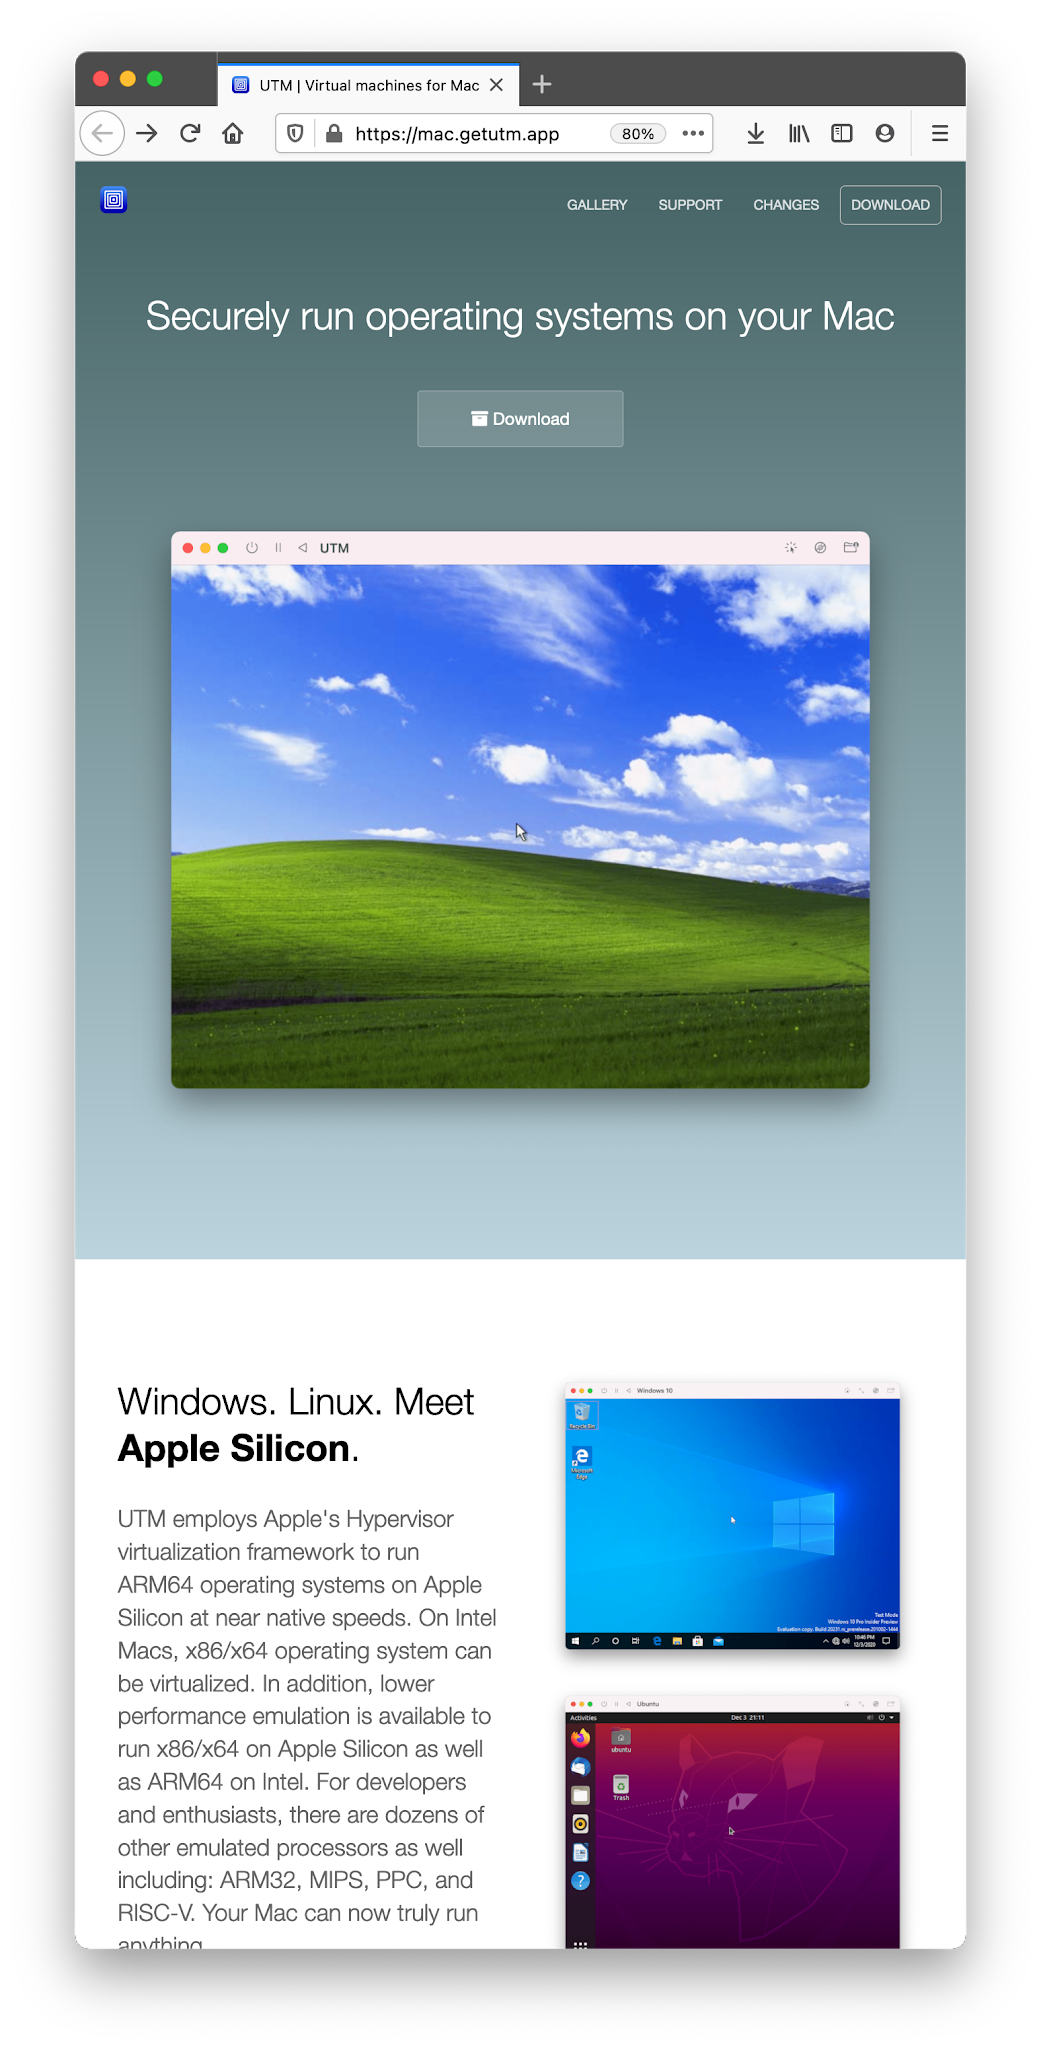
UTM app for Mac as I posted last week, becomes public available.
App web site is https://mac.getutm.app/.
It let you easily make guest OS environment on Apple Silicon Mac.

Like as I posted, it states "lower performance emulation is available to run x86/x64 on Apple Silicon as well as ARM64 on Intel." 

In addition, various pre-installed guest images (x64 Windows XP/7 and Ubuntu, or Arm64 Windows 10, etc) are available from the gallery page.

One notice for current version (V2.0.17) of UTM app is that you have to move the downloaded images to the folder ~/Library/Containers/com.utmapp.UTM/Data/Documents .

[Japanese version of this post]

06 January 2021

Intel x86 Windows on Apple Silicon Mac with UTM app is easy and hot

Intel and Arm Windows running
on UTM on M1 MacBook Air
Using Microsoft Windows on M1 Mac is our dream.
The biggest hurdle is the architecture change of Mac.

Various technologies exist to execute other operating systems on the host macOS.

  • Rosetta 2:
    Apple's own machine code translation technology.
    It translates user code of macOS application and converts library call to native library call.
    In addition to machine code translation, Rosetta 2 utilizes Apple Silicon's own instruction set that specializes in Intel emulation.
    In conjunction with both library call conversion and special instruction set, Rosetta 2 is very efficient (200% compared on M1/Intel MacBook Air) to execute Intel code on Apple Silicon.
    But it is limited to execute macOS app.
  • Boot Camp:
    macOS Boot Camp is dual-boot technology, so it is not suitable to execute Intel Windows on Apple Silicon, and it is not available on Apple Silicon macOS (at least currently).
  • Virtualization (Hypervisor is the same meaning):
    Virtualization is a mechanism to execute other full OS codes in the same architecture as the host OS.
    Nowadays, virtualization is provided by kernel and hardware mechanisms, so it provides about 90% native speed.
    But it is limited to execute the same CPU architecture to host architecture.
    The macOS provides two frameworks: the Hypervisor Framework is a low-level virtualization API and the Virtualization Framework is a high-level and easier to use API to execute Linux.
    Arm Windows can be executed on macOS Hypervisor Framework (but not Intel Windows).
  • Microsoft's Intel emulation layer on Arm Windows:
    It is similar technology to Rosetta 2 on macOS.
    But it cannot utilize Apple Silicon's proprietary code, neither Arm Windows is not generally licensed yet.
  • Wine:
    Wine is a solution to execute a Windows app on non-Windows operating systems (Linux and macOS).
    It simulates Windows library, and it is written in native Intel architecture.
    It is possible to run Wine to execute many of the Windows apps on macOS using Rosetta 2.
    The drawback is the compatibility.
    Some of the apps are not able to be run on Wine.
  • QEMU:
    QEMU is a famous CPU instruction emulator on Linux, and it can also execute Arm code on Intel or Intel code on Arm vice-versa.
    When QEMU executes the same architecture operating system, it can utilize hardware virtualization and it is very efficient.
    In the case of different architecture, it emulates a full stack of the operating system: all of the app code, library code, and kernel code.
    It is truly possible, but not so efficient as Rosetta 2 or native Arm Windows (1/4 - 1/8 performance).

After my trial written in the previous post, I am going to research better ways to execute Intel Windows on Apple Silicon Mac.

Finally, I found the UTM app that is originally developed for iOS and now the macOS version is released.
UTM app is based on QEMU for Intel code since it was born, and it also utilizes macOS Hypervisor Framework for Arm code.
UTM is the current easiest way to execute both Intel and Arm Windows on Apple Silicon Mac.
Because UTM is based on QEMU (full emulation), it can utilize all 8 cores of Apple Silicon and makes Mac really "hot" when executing some apps on Intel Windows.

[Japanese version of this post]

[2021-01-08] Simplified the title from
<Intel x86_64 Windows (not Arm) running on Apple Silicon M1 MacBook Air using UTM app>
to
<Intel x86 Windows on Apple Silicon Mac with UTM app is easy and hot>

[2021-01-17] I wrote a new post since UTM app is widely available at new web site, and pre-build guest images are available.

27 December 2020

Intel x86_64 Windows (not Arm Windows) successfully runs on Apple Silicon M1 MacBook Air - how to

Some articles started to report about Arm Windows running on Apple Silicon Mac, but Arm Windows is not major in industry yet.

I thought a different story.

The macOS itself provides Virtualization Framework to execute Linux virtual machine guest OS easily on macOS, and it is the same on Apple Silicon
Therefore Apple Silicon Mac can execute Arm Linux guest OS.
Linux OS provides QEMU virtualization that can use both KVM (hardware-based kernel virtualization) and software-based CPU emulation.
It means Intel Linux can execute Intel Linux and Arm Linux guest, and Arm Linux can execute Arm/Intel guest.
QEMU is flexible enough to execute Windows guest, so Arm Linux will be able to execute Intel Windows guest.

Following is how to execute Intel x86 Windows on Apple Silicon M1 Mac.

  1. Download a pre-build Arm Ubuntu image and virtualization app for Apple Silicon Mac.
    One of the examples is @mibosshard work at https://twitter.com/mibosshard/status/1331558536728506368
    It is a package of Arm Ubuntu Linux and SimpleVM tool.
    Download it, and extract.
  2. I was not able to customize/build the code of SimpleVM, and found other virtualization app vftool at https://github.com/evansm7/vftool
    Download the source code.
  3. Pre-build Ubuntu does not have enough disk space, so I changed the vftool code as that CD drive will be assumed to disk drive (replace readOnly:true to false), and build.
    Open the vftool project with Xcode, locate readOnly and replace "true" with "false", and do build.
  4. Xcode places the built app at a temporary path. So, I find it by [Show in Finder].
  5. Open macOS terminal and create an empty HDD image by command:
    % cd <<to where Ubuntu_SimpleVM was extracted>>
    % dd if=/dev/zero of=ext4fs-data03.img bs=20g count=0 seek=6

  6. Execute the guest OS by:
    % /Users/xxx/Library/Developer/Xcode/xxx/Products/Debug/vftool -k vmlinuz -i initrd -a "console=hvc0 root=dev/vda" -d image  -m 9000 -c ext4fs-data03.img -net -p 8
  7. Open another terminal and connect to the guest by:
    % screen /dev/ttys001
  8. Ubuntu Linux boot messages and Login prompt will be appeared.
    The root password is described in README.txt of Ubutu_SimpleVM.
    Login as root.
  9. Initialize the filesystem (we will store Windows image at /Data) and mount it by:
    # ls -l /dev/vd*
    # mkfs.ext4 /dev/vdb
    # mkdir /Data
    # mount /dev/sdb /Data
  10. Install QEMU by:
    # apt-get install qemu binfmt-support qemu-user-static docker.io
  11. Install qemu x86_64 from https://github.com/dbhi/qus and https://hub.docker.com/r/aptman/qus/ by:
    # docker run --rm --privileged aptman/qus -s -- -p x86_64
  12. Download a pre-build Intel Windows 10 image from https://app.vagrantup.com/peru/boxes/windows-10-enterprise-x64-eval by (will download 7.5GB, and the password is described at the site):
    # cd /Data
    # wget https://app.vagrantup.com/peru/boxes/windows-10-enterprise-x64-eval/versions/20201203.01/providers/libvirt.box
  13. Extract disk image by (results 15GB):
    # mv libvirt.box w10-box.tar.gz
    # tar xzvf w10-box.tar.gz box.img
    # mv box.img w10-box.img
  14. Before start the guest, check the Ubuntu IP address of emp0s1 interface (will be used for vnc connection) by:
    # ip a
  15. Then, start the Intel Windows by:
    # qemu-system-x86_64 w10-box.img -m size=6000 -vnc :0,password  -monitor stdio -usb -device usb-tablet -accel tcg,thread=multi  -cpu qemu64 -smp 8,maxcpus=8,sockets=2
  16. A prompt (qemu) will be appeared, then set your favorite password for vnc by:
    (qemu) change vnc password
  17. Return to macOS Finder and [Go] => [Connect to Server...], and specify following as Server Address and enter your password:
    vnc://192.168.64.xxx
  18. Finally, QEMU window will be appeared to display the progress of the Intel Windows boot.
    It takes about 30 minutes for the first time and consumes 100% of 8 cores even on Apple M1, because this is software emulation.

This is just an experimental work as beginning.
I will post the performance comparison later.
If you have interest, leave your comment or say Like at my twitter post.

[2021-01-17] UTM app is easy way to execute Arm and Intel guest operating system, so I wrote a post about it.

26 November 2020

Making Intel code on Apple Silicon Mac is "cc -arch x86_64", and open shell as Intel is "arch -arch x86_64"

The first thing we will do with new computer is execute hello world program.
This is how on Apple Silicon Mac:

% mkdir tmp
% cd tmp
   [Open TextEdit and enter following code]
#include <stdio.h>
int main () {
    printf ( "hello world.\n");
}
   [Then, [Fromat] => [Plain Text], and [File] => [Save as...] ~/tmp/a.c]
% cc a.c

   [xcode tools will be installed on demand]
% ls -l

% ./a.out

The app generated is Apple Silicon app, and you can check by:

% file a.out

You can also build a Intel app as following:

% mv a.out a_arm64.out
% cc -arch x86_64 a.c
% mv a.out a_x86.out
% ./a_x86.out

   [Rosetta 2 will installed on demand]
% file a_x86.out

In addition, this is how to make Universal app:

% lipo -create -output a.out a_x86.out a_arm64.out
% ./a.out

macOS will execute Intel only app by using Rosetta 2.
With Universal app, macOS will select Arm binary by default.
If you want to change the default, you can execute the shell program as Intel by:

% arch -arch x86_64 zsh
   [can be confirmed with one of following]
% uname -m
% echo %CPUTYPE
% machine

Otherwise, change to Arm from Intel environment:

% arch -arch arm64e zsh
   [can be confirmed with one of following]
% uname -m
% echo %CPUTYPE
% machine

[Japanese version of this post]

23 February 2020

Comparing coming Windows 10 2004 Fluent Design icons with current Metro icons

As announced at Microsoft Design blog (subtitled: Introducing the new Windows 10 icons in Fluent Design 2020-02-21), icon designs on Windows 10 will be refreshed as Fluent Design system on coming Windows 10 Version 2004 (20H1).
I made a figure to compare the icons side by side.
 I don't know some of the icons in Fluent  figure.
If you know what is the missing or find my mistake, please let me know.

[Japanese version of this post]

22 August 2017

Google public releases Android 8.0 Oreo name, and silent releases Android Oreo beta firmwares for Nexus/Pixel

https://www.android.com/eclipse/
Google announced eclipse event site, and released the name of Android 8.0 Oreo with short animation (https://www.youtube.com/watch?v=twZggnNbFqo).
It is not bad, but I continue to find additional.

We can receive Beta Firmware of Android 8.0 Oreo for Nexus 5X/6P/Player, Pixel and Pixel C/XL.
From Android Developer site at
https://developer.android.com/index.html

points to Android O Developer preview at
https://developer.android.com/about/versions/o/index.html
and then we can access to Beta Firmware from
https://developer.android.com/about/versions/o/download.html

Enjoy Oreo!

[Japanese version of this post]

02 May 2013

OldExpose on Mountain Lion 10.8 within standard features

OldExpose on Mountain Lion 10.8
Uncheck [Group win...]
Mission Control on Mountain Lion 10.8/Lion 10.7
Exposé on Snow Leopard 10.6
[from my past post]

Exposé on Tiger 10.4/Leopard 10.6 (OldExpose)
I found OldExpose solution (original Exposé mode) for Mac OS X Mountain Lion 10.8 at last.
If you know Tiger 10.4 or Leopard 10.5 Exposé, you might love it, and hate it on OS X newer than 10.5.

The first screen shot is OldExplse on Mountain Lion.
To enable OldExpose, open [System Preferences], select [Mission Control], and Uncheck [Group windows by application].

Comparing Exposés from Tiger 10.4/Leopard 10.5 to Lion 10.7/Lion 10.8, original Exposé (so called OldExpose) has been the best Exposé ever.
Disabling [Group windows by application] simulates OldExpose very well.
I let you easily select the target window from many windows opens, by preserving the original window places and sizes compared to others.
[Japanese version of this post]

12 November 2012

iPad mini price formula, I fuond; $40 x screen size, and for Retina $50 x screen size

from article by AppBank
I found simple iPad series price calculation formula that I had never seen in internet.
That covers iPod touch as somebody said as "iPad mini is large iPod touch."
  • non Retina iPad's price is $40 multiplied by display size in inch.
    For Retina model, $50 multiplied by display size.
  • Above is for 16GB model. For 32GB and 64GB, each time when doubling the memory, plus $100.
  • With Cellular, plus $130
That's all.
Let me verify it using table.

iPod touch 5geniPad miniiPad 2iPad 4gen
display size47.99.79.7

16GBmultiplied by $40
329399
Retina; multiplied by $50199 (not available)

499
with Cellular; plus $130
459529629

32GB; plus $100multiplied by $40
429

Retina; multiplied by $50299

599
with Cellular; plus $130
559
729

64GB; plus $200multiplied by $40
529

Retina; multiplied by $50399

699
with Cellular; plus $130
659
829
In this table, I wrote real price.
But gaps between calculation are smaller than 4%.
Now let me simulate several predicts for iPad mini.
  • If iPad mini had 7 inchi display similar to other tables, the price was $40*7=$280. I think it is not competitive nor innovative.
  • If iPad mini was with 8GB, the price was $329-$100=$229. I could be $199, same as Nexus 7 at that time, but they lowered soon.
  • If iPad mini with Retina display wil be released, the price will be $50*7.9=$395~$399. At the time it will be released, iPad 2 in that price will be retired, and iPad mini should be major member in iPad series.
How do you think this?
I'm looking forward to half and/or one year later.
[Japanese version of this post]

29 July 2012

MobileMultiUser for iOS V4 - enables switching user environment on family iPad or iPhone

MobileMultiUser V4 is improved on speed to switching user.
It takes about only fifteen seconds, compared to two minutes on earlier version.

MobileMultiUser protect your private account with password.

If you do not have iPads (or iPhones) for each your family member, and you have to share the it, MobileMultiUser will help you.

JB is required.
Installation instruction is on previous post.

Please enjoy.

23 January 2012

MobileMultiUser is available on Cydia

Open Cydia, then
  1. Go to [Manage] tab
  2. Tap [Sources]
  3. Tap [Edit] button
  4. Tap [Add] button
  5. Enter http://cydia.myrepospace.com/taka8aru and Tap [Add Source] button
  6. Then Cydia processes repository. (It takes several minutes these days, because some major repository having trouble.)
  7. Tap [Done] button
  8. Select [taka8aru - MyRepoSpace], and you find MobileMultiUser

Please enjoy.

26 December 2011

MobileMultiUser V2 - share your iPad with family under password protection

After my previous post, I added password GUI to my MobileMultiUser.

MobileMutiUser for iOS V2 (build #002 2011-12-25) [Download]

Installation and set-up are same as previous version.

Note, JB is required.
I was tested on iPad and iPod touch 4th generation with iOS 4.3.1.
I will test it on iOS 5 soon.

Comments or e-mail feed-backs are appreciated.

[Japanese version of this post]

29 May 2011

MobileMultiUser - sharing iPad by switching user accounts, multi user support for iOS device

How many iPads do you have? Most of you and I have only one iPad at home. iPad is post-PC device because your grand mother can use it, for example. One and big problem occurs when you do not want to share your personal mail account or web bookmark with your family. So I developed a tool MobileMultiUser to switch user account on iPad/iPhone/iPod touch like Mac and PC. Notice: JB is required and your command line operations are also required on this version. Notice: Before you use this tool, you should backup your iOS device with iTunes, and you should duplicate the backup folder to prevent overwriting the original backup. MobileMultiUser for iOS Prototype 1 (build #001 2011-05-16) [Download] Features of MobileMultiUser:
  • Icons for user accounts are placed at home screen of your iPad/iPhone/iPod touch. Touch the icon to switch user environment.
  • What are saved between users:
    • Preferences of standard apps
    • icon position and wall paper (SpringBoard settings)
    • settings and app data for Safari, Mail, and Notes
    • Web Clips icon
    • Flipboard's settings and app data
  • What are shared between users:
    • setting and app data for apps not listed above. For example, iTunes, iBooks, Pictures, YouTube and your installed apps.
  • You can add a user by using following commands;
    • cloneUser Creates new user environment by copying the current user environment.
    • createUserIcon [-icon color] Creates specified user's icon on home screen. Because super user privilege is required to create icon, so you should invoke this command after su command.
  • You can use MobileMultiUser on iPad, iPhone and iPod touch. I tested on iPad with iOS 4.3.1 and iPod touch 4gen with iOS 4.3.1.
How to install:
  • Cydia packages required are; OpenSSH, Erica Utilities, Tape Archive (tar), and sed.
  • Download MobileMultiUser-001.tar.gz from above link. After downlod it to your PC/Mac, copy it to your iPad. $ scp MobileMultiUser-001.tar.gz mobile@<ip address of ipad>
  • Extract the package into /var/mobile/Library/AddressBook/MMU-parasite/ . MobileMutiUser parasites to AddressBooks folder, so its data will be backed up by iTunes. $ ssh mobile@<ip address of ipad> ipad$ cd /var/mobile/Library/AddressBook/ ipad$ tar xzvf ~/MobileMultiUser-001.tar.gz
  • Create the first user named "defaultUser". ipad$ cd /var/mobile/Library/AddressBook/MMU-parasite/ ipad$ ./saveCurUser ipad$ su # ./createUserIcon defaultUser # exit
  • Create additional user (Taro in following command). ipad$ cd /var/mobile/Library/AddressBook/MMU-parasite/ ipad$ ./cloneUser Taro ipad$ su # ./createUserIcon Taro # exit
  • After add a user's icon, you should respring to see the new icon. ipad$ respring
Limitations of current version:
  • There are no way to display the current user name. You can set individual wall paper for each user to distinguish between them. If you tap current user's icon on home screen, no action are occurred.
  • You can save the user's environment only for applications listed at features section with current version.
  • You have to invoke command line tool to create new user.
  • System keychain database is shared between users. For example, if user-A and user-B defines same gmail account then the password are shared, and if user-A deletes the gmail account then user-B's gmail's password will be cleared. User-B could define gmail's password again.
  • There is no password protection between users.
This tool is provided on an "as is" without warranty of any kind. Feel free to post comment or e-mail to me when you have any questions, suggestions or encouragement. [Japanese version]

01 March 2011

Mac OS X Server for Free

Apple's Mac OS X Lion Preview page states "Lion Server is now part of Mac OS X Lion."
It means the most easy to manage server operating system will be free for Mac OS X Lion users.

Macs, iPads, iPhones, and PCs at home or at office will be under single administration in easy way.
You can choose your on promise server or cloud as your like, even at your home.

Nowadays, one or more devices per one person makes complexity.
Mac OS X Lion built in server will be the answer.

HP/Palm webOS 2.0 and beyond

According to the latest press event on 9-Feb-2011, HP will release S, M and L size webOS devices on this summer (my report in Japanese). The webOS might be numbered 2.2 for Veer and Pre 3, and 3.0 for TouchPad (clearly stated on wikipedia). In addition to the news for new device, webOS 2.0/2.x will not be released for original Pre and Pixi (by tough decision).

20 February 2011

Yet another solution for YouTube black-out problem on Mac Safari ; User-Agent

Since about a week ago, we can not watch YouTube video by Mac Safari.
Once the problem occurred, it cannot be solved by re-installing Flash player, clearing Safari history, nor clearing Safari Cookie.
I found a temporally solution.
  • Change the USER-AGENT of Safari other than [Safair 4.0.5 - Mac] (for example, [Safari 4.0.5 - Windows]) from [Develop] menu If [Develop] menu item on your Safari, use [Preferences...] => [Advanced]
Other solutions are exists, but I think there are some disadvantages;
  • Change the Safari application from 64-bit to 32-bit Apples decided the default is now 64-bit. If you forget to switch back from 32-bit to 64-bit, performance penalty or missing new features will become the problem.
  • Change the YouTube to HTML5 mode You can change YouTube to HTML5 mode by visiting youtube.com/html5 . If the html5 version of video is provided, the problem will be solved. Some or many videos are Flash (FLV) only.
  • Use embed mode of YouTube If the url is http://www.youtube.com/watch?v=ABCXYZ&feature=aaa then, rewrite it as http://www.youtube.com/embed/ABCXYZ You can watch the video in Safari windows as full scaled.
I do not know the problem came from the Flash War, I hope Apple or YouTube solves the root cause early.
[2011-02-21 2:50 JST] Added 4th solution.

07 October 2010

Google Instant for Images, Videos, Blogs, and Updates (realtime search)

Today, Google enables Instant capability for Images search, Videos, Updates, News, Books, Blogs, and Discussions.
Google Maps and Shopping Search are not yet.
For Google Realtime Search (Updates Search for Twitter, etc) search result is updated according to your input, and the same time the result is scrolled down realtime.